Since the Discovery of Territory Technology, Warfare has been a long lasting part of Loka. It's been a never ending battle in and of itself just to balance the rules of pvp and raiding to suit the people. Everything took a whole new feel once territories were implemented. A proverbial game of risk with different elements of combat and zone based struggles, Territories became a strong component in how wars played out. The death and dismay from days of old was a bit more chaotic than the territorial struggles of this particular time period. In the Fifth Age, towns were met with decisions that would make or break their positions in the war for the title as Loka's Capital.

Watch a Conquest Fight - Gotham vs Stolengarde
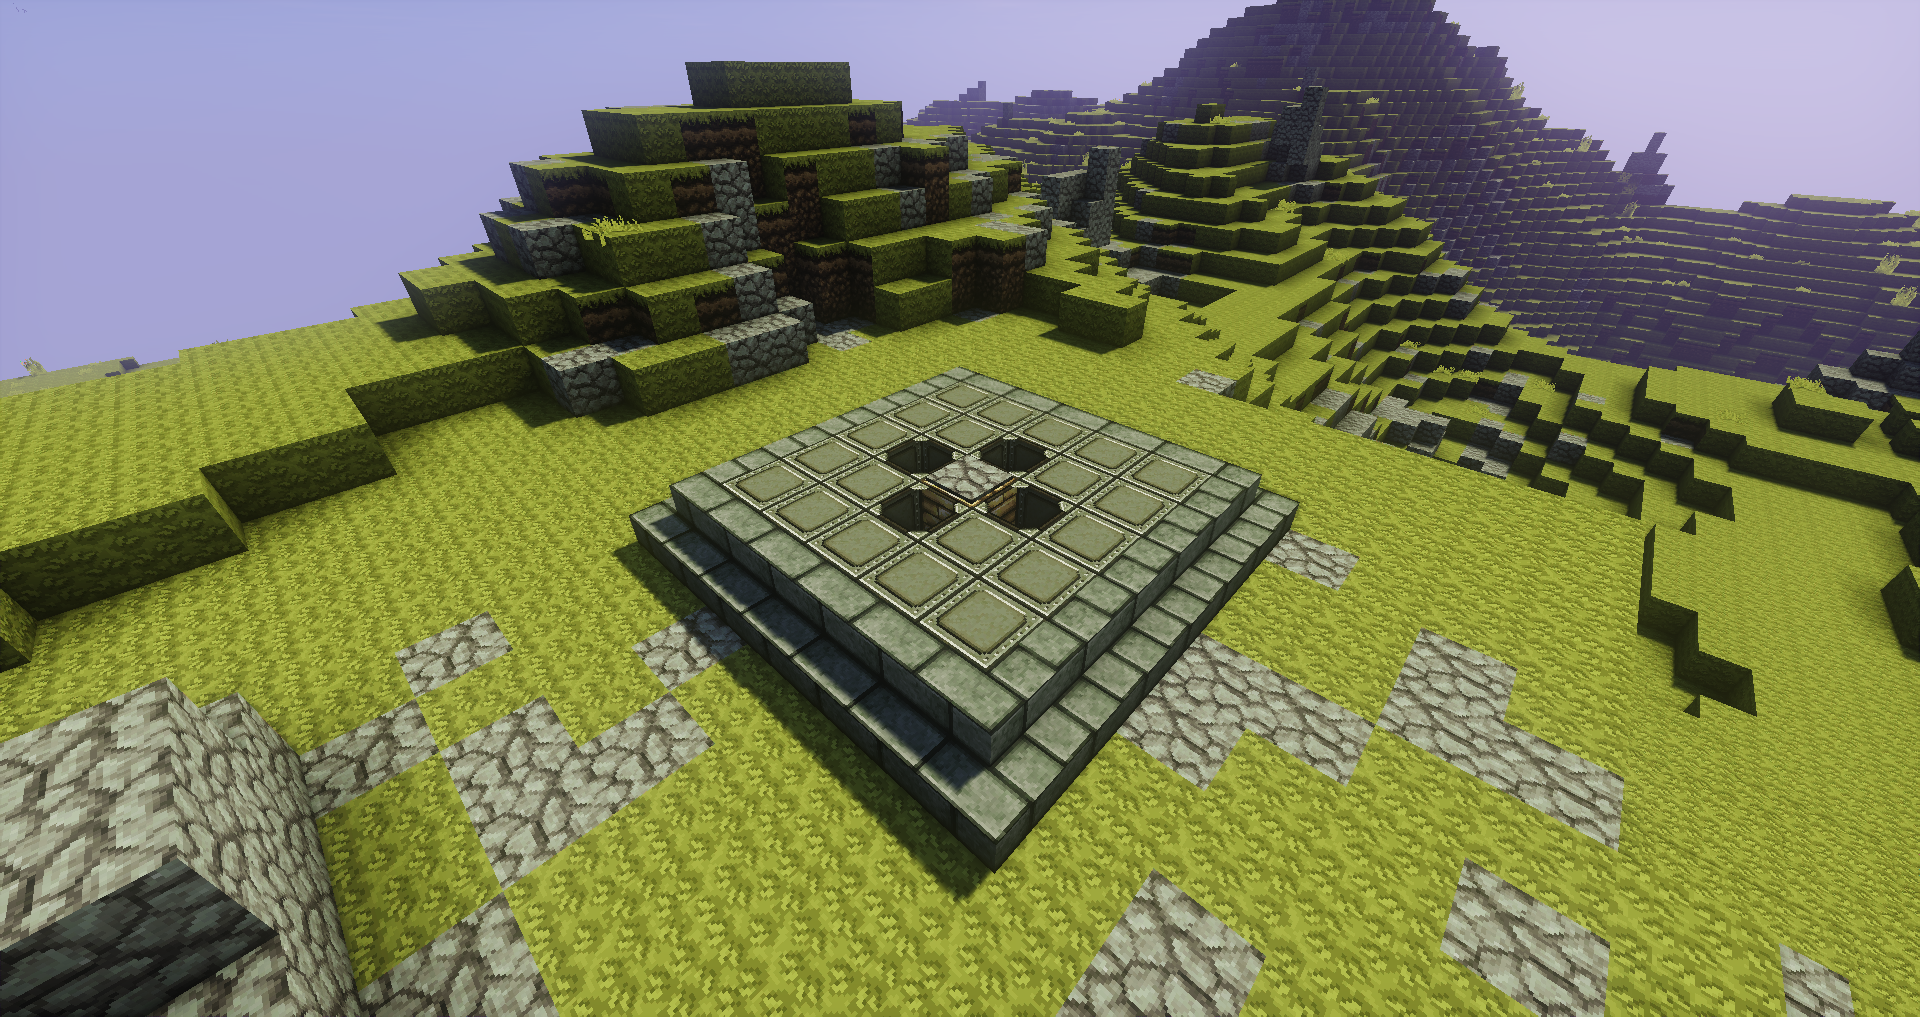
Territory Generators[]
Statically assigned throughout the continents of Loka are Territory Generators. These nodes are permanent and cannot be broken with normal tools. Territory Generators serve as protection for their respective nodes.

In order to gain territory for your town, locate the Inhibitor Pad near any TGen and step on its pressure plate. This is how you begin an attack in any form. Once this happens it creates a battle zone around the TGen until the conclusion of the fight.
During an attack, Iron Golems must be killed in order to gain a charge. Once charged, an attacker must stand near a power source (Redstone Lamp) to cause an Overload, which causes the power source to take damage. This is done repeatedly until the power source is destroyed. Once all 4 Power Sources are overloaded, the doors to the core room of the Territory Generator will blow open and the battle for the Core can then begin.
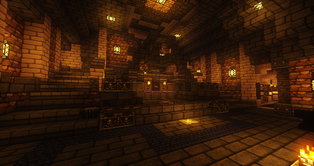
Territory Generator Cores[]

The technology involved with the tGens is something Lokans know little about. That hasn't stopped them from harnessing the power and advantages involved. The cores within the generators have self-defense measures that only help mitigate being destroyed. These measures both attempt to kill attackers and slow them down. The following are the different defense measures:
Core Attacks[]
Endermites - At intermittent periods an abundance of Endermites spawn. While it may not be immediately threatening while geared well, they are a big hindrance and can be deadly if players attempt to ignore them.
Molten Floor - there is a chance for the floor to become a very deadly area to be standing. The floor will slowly turn into Magma Blocks and deal damage to those standing on it. Players still standing on the Molten Floor when the effect ends take generally 80-90% of their health in damage.
Sub-cores - In deterrence of an attack the core will shroud itself as bedrock, creating three sub-cores that must be destroyed in order for attackers to continue their efforts.
Wither Effect - All players in the core room will be debuffed with the Wither effect. Simultaneously, on the two sides of the room, Emerald Blocks will appear that players can stand on to cleanse the effect.
Soulsand - Random 3x3 areas of the room will turn to soulsand and deal damage to anybody standing on them. These are easily avoided, but can easily appear under your feet.
Combustion - A random player attacking the core or Endermite will become a bomb. After 6 seconds, any players within 10 blocks and a line of sight of the bomb will be dealt massive damage and be knocked back.
Core Attack Values[]
When attacking the Core, the type weapon of weapon used affects the total damage to the Core. A Diamond Sword does the maximum possible damage to the Core in a hit (10 damage, where the core has 7,000 hp). Importantly, if you have been debuffed by Weakness of any level, your damage to the core is reduced by 40%.
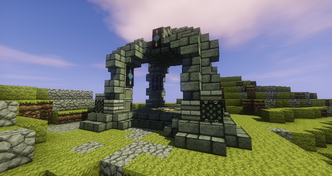
Inhibitors[]

Inhibitors are where attackers warp in during a Conquest Battle. Similar to the Territory Generators, Inhibitors have 4 lamps and 4 Golem Protectors. To thwart attack and win a successful defense, all 4 of the Inhibitor's lamps must be overloaded much like with the Territory Generator.

Inhibitors have two states, inactive and active. An inactive Inhibitor simply looks like a pad with iron blocks on the ground. By stepping on the pressure plate above the gold block and setting up an attack, the Inhibitor will morph into an active state that remains through to the end of the battle.
Daily Territory Attacks[]
In order to prevent a town or alliance from effectively wiping out an enemy in a short time, Towns and Alliances can only attack 3 times in a 20 hour period. Each attack will reset 20 hours after it was launched.
Daily Territory Defenses[]
Much like with attacks, to prevent a coalition of towns or alliances from wiping out an entire town's territories in one fell swoop, Towns and Alliances can only be attacked 5 times in a 20 hour period. Each defense will reset 20 hours after an attack.
Beacons[]

Each town can place one inside their borders. Beacons are the main way of teleporting to a Conquest battle. Once a fight has begun, players can individually select which fight to be teleported to by clicking the stone button on the pad's back wall. In Alliances or in cases of fights where Reinforcements have been called, all beacons in the Alliance are synchronized and teleport at the same time.
You have one minute from activating the beacon to get on the pad before the teleport goes off.
If your town does not have a beacon, you may create one using /c create and then clicking beacon in your chat.
Radars [1][]
Creation and Function[]
Radars are territory buildings that towns can create in territories they own. Each radar costs 200 shards to create and takes 15 minutes to come online once placed. Radars also contribute to the daily upkeep cost of the town that placed it. Only one radar can be placed in a territory. Radars will alert a player's town if a player enters a territory with a radar, showing that player's coordinates. Additionally, a player who trips a radar will receive a notification alerting them to the fact that they have been picked up by the radar.
Attacking Radars[]
Radars can be destroyed by other players. When approached by a player not in the town, a town protector will spawn from the radar to defend it. If it is killed, the player will become charged and can stand next to the redstone lamps to overload it. Once fully overloaded the radar will be destroyed and have to be replaced by the town. The radar will also drop some of the shards that were used for it's upkeep.
Modules[]
Truce Period[]
At the end of the month, after Capitals are chosen, an automatic Truce Period is activated. For 72 hours, no battles may be fought except to start new towns. This period is intended to provide a few days of peace time after a usually heavy weekend of fighting. This is also the only time Alliances may be formed and new towns invited to existing Alliances.
The intent is for the Truce Period to serve as the time for towns and alliances to properly form and set the stage for the next month's battles. This way, Alliances don't randomly change in the middle of the month and cause issues with strength, confusion, etc.
Once the truce period ends, votes for extra Capital Policies are tabulated, Alliances are locked (except for leaving them), and Conquest Battles may once again resume. Lastly, if an alliance/town will be fighting on Balak, they will be locked to that once the truce ends. As a result, towns in that alliance cannot then leave and try to fight on Rivina.